
SketchUp to V-Ray Rendering Tips
2022.02.11

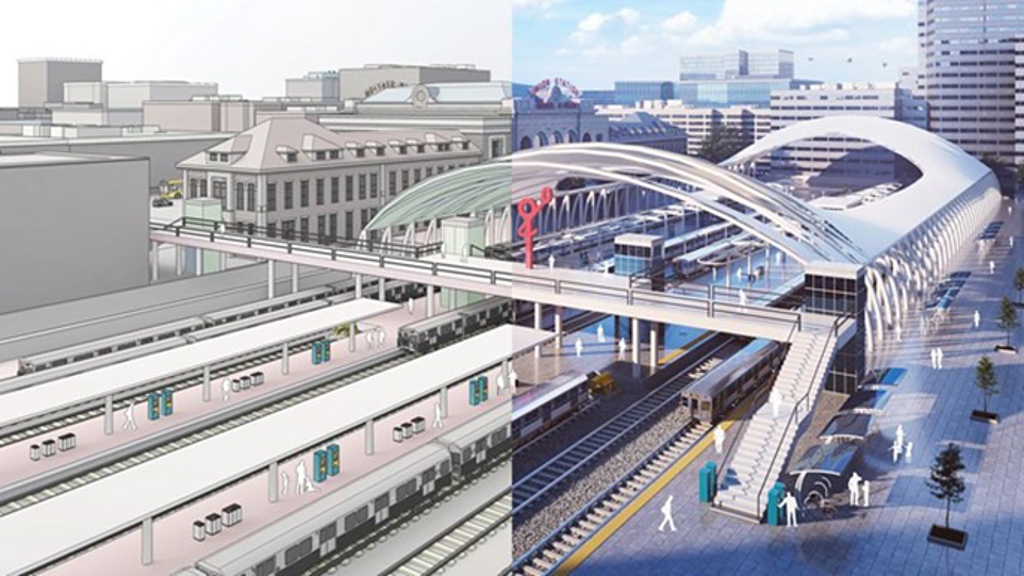


Rendering uses a program to simulate materials, lights, and shadows in a 3D model. The output image looks more like a photo than a 3D computer model. Rendered images are can more accurately represent the final build than the 3D model alone. SketchUp offers the ability to generate renders within the program in one step, also offering real-time rendering, allowing you to move through a 3D model and view it as though it were completely rendered in real-time.
Creating a model for rendering does have its own set of rules. To get you up and rendering as quickly as possible, here are five tips for prepping your SketchUp model for rendering.
1. Properly Orient Faces
SketchUp faces have a front and a backside (default material shows the front as white and the back as gray). Some renderers will render back faces invisible, so it is important to make sure that all faces have the correct orientation before you attempt to render. The Monochrome view type in SketchUp is a great way to see your entire model color-coded for proper orientation.
2. Leverage the Rendering Engine’s Materials
While SketchUp materials will render OK in most rendering engines, you will get the best result by using the materials that the rendering package includes. Materials for rendering include attributes that SketchUp is not concerned with, like reflection, bump maps and luminescence. There’s no need to spend hours customizing a material in another program because the photoreal details are already baked-in to the render-ready materials. Simply plug-and-play with the V-Ray material library.
3. Lights, Camera…
In SketchUp, there is one camera and one light. A rendering engine can handle any number of different lights and camera locations for a single model. Depending on the level of integration, you may be able to place these items into a SketchUp model while you are modeling, making it much quicker to generate final renders.
4. Clean It Up
Rendering a model is like having a photoshoot. You need to spend time prepping your model before the final output. It may be fine to have extra components or stray lines around your file while you are actively modeling, but only show what needs to be in the final image when it is time to render.
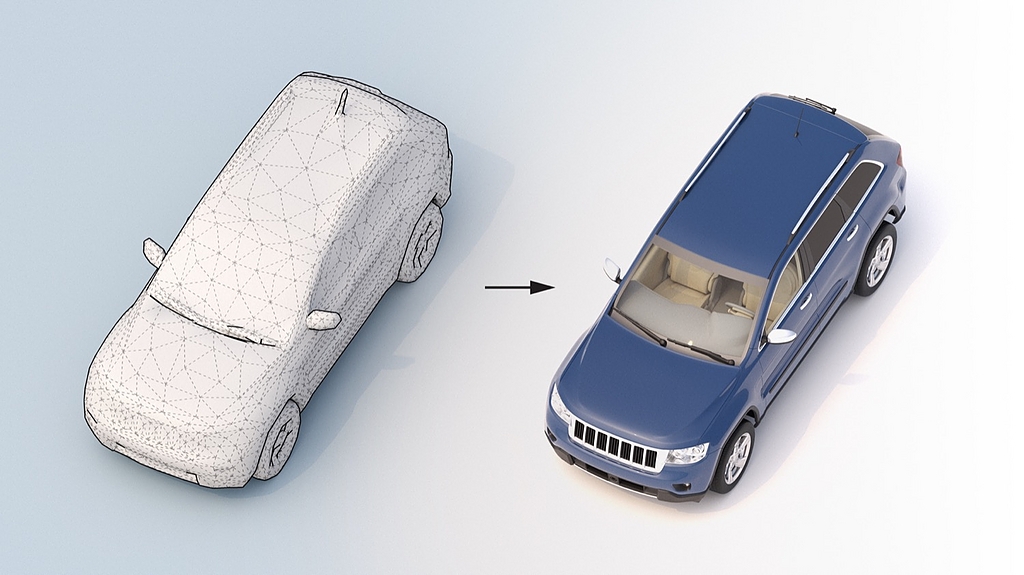
5. Pull-in Render-Ready Assets
Many renderers offer a slew of render-ready assets that you can drop into the model to make your render more realistic — from cars and trees, people and animals, to water and grass. These are things that can seriously weigh down a SketchUp model. But, render-ready assets can be added as low-poly proxies in SketchUp and then rendered as highly detailed assets in the rendering engine.
-
▪ Source: Archdaily|https://www.archdaily.com/catalog/us/products/29162/five-tips-for-rendering-in-sketchup-sketchup?ad_source=neufert&ad_medium=gallery&ad_name=close-gallery
▪ Image Credit: ©SketchUp / ©Archdaily